If you carry a gun for self-defense, mastering the draw stroke could save your life.
The great thing about improving your skill at presenting your handgun from the holster is that it’s a skill you can measurably improve without firing a single shot. Of all the defensive handgun skills you can use dry-fire to develop and practice, presentation is the one where dry-fire can provide the most improvement.
You can break the process of handgun presentation down into four steps. They include clearing for the draw, establishing a shooting grip, clearing the holster and sight acquisition. Let’s dissect each of these so you fully understand the draw stroke process.
Step 1: Clearing/Prepping for the Draw
Before you can draw your handgun, you need to be able to get to your handgun. This is of particular importance if you’re carrying concealed. The method will vary a bit depending on where you’re carrying your handgun, but the process is essentially the same. First, obtain a balanced stance, which is a stance that’s slightly weight forward where you can remain composed while shooting.
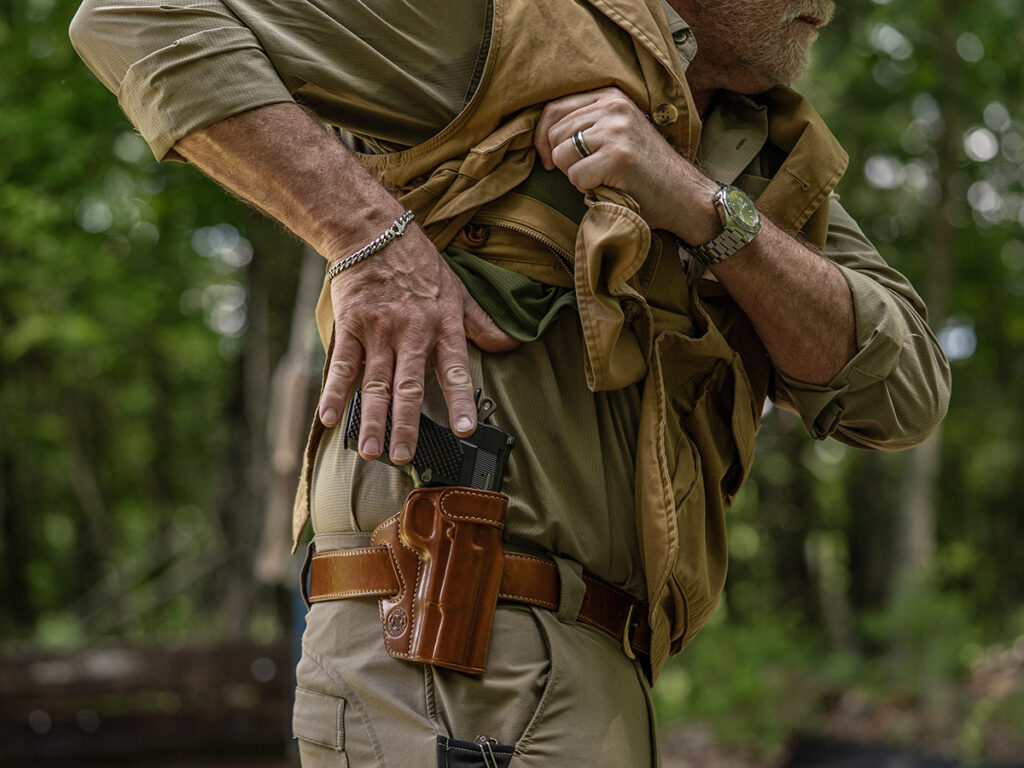
When drawing from concealment, you must use either your support or shooting hand to uncover the handgun. If you’re drawing from your waistband and wearing a cover garment with an open front—like a vest or jacket—use your shooting hand to sweep the garment past your holster.
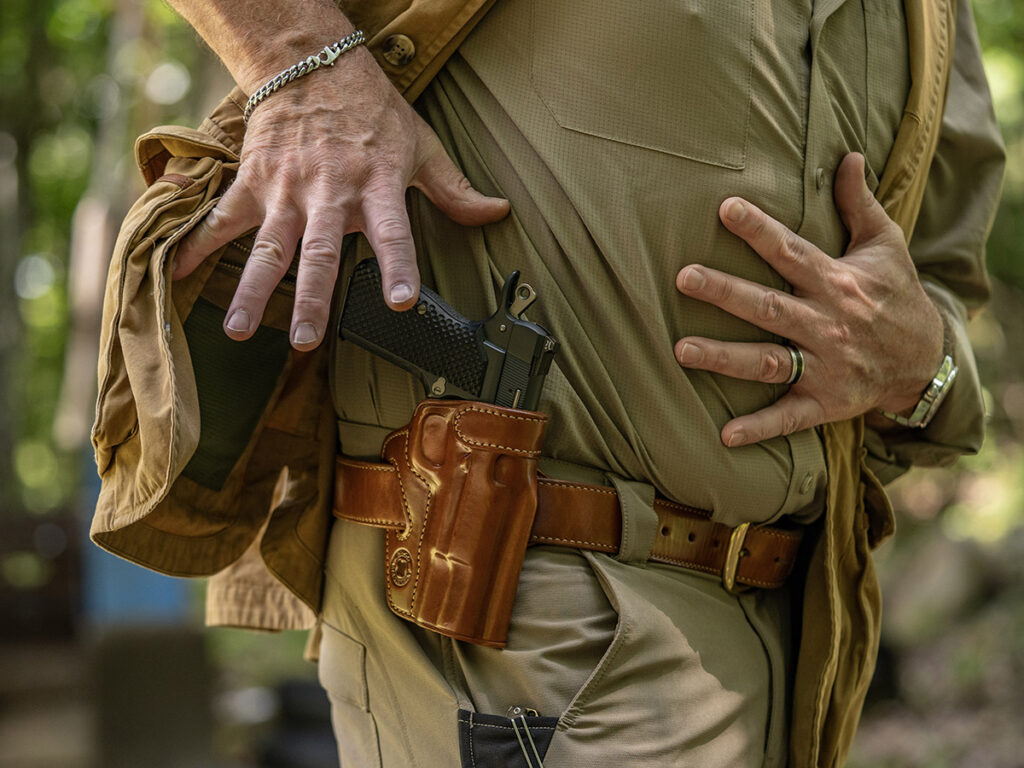

If your cover garment is a T-shirt or sweater without an open front, use your support hand to grab the bottom of the garment near the holster location and pull it up past the holster. This process would also apply to ankle carry; the difference is your support hand is pulling up your pant leg. Regardless of the situation, exaggerate the clearance of the garment to ensure you can have full and unrestricted access to your holstered handgun.
Step 2: Establishing a Shooting Grip
Once you pull your handgun from the holster, establishing a proper shooting grip becomes problematic. So, it’s very important to establish a shooting grip on your handgun while it’s still in the holster. You might be able to deliver a single shot with a poor grip, but you will not be able to shoot accurately and repetitively with speed if you have an improper grip.
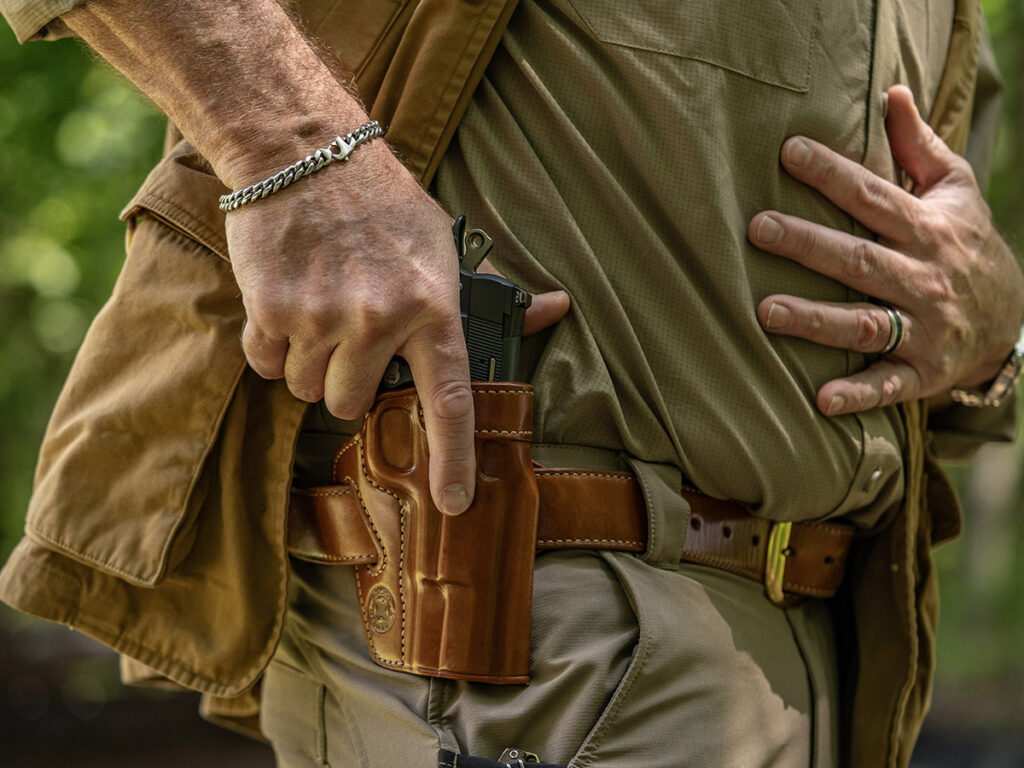

Though a proper and comfortable grip will vary slightly from shooter to shooter and from gun to gun, you want your hand to be as high as comfortably possible on the handgun’s grip, and you want the handgun—muzzle—to be in line with the forearm of your shooting hand. However, before you attempt to establish your shooting grip, you must release any retention straps or devices integral to the holster.
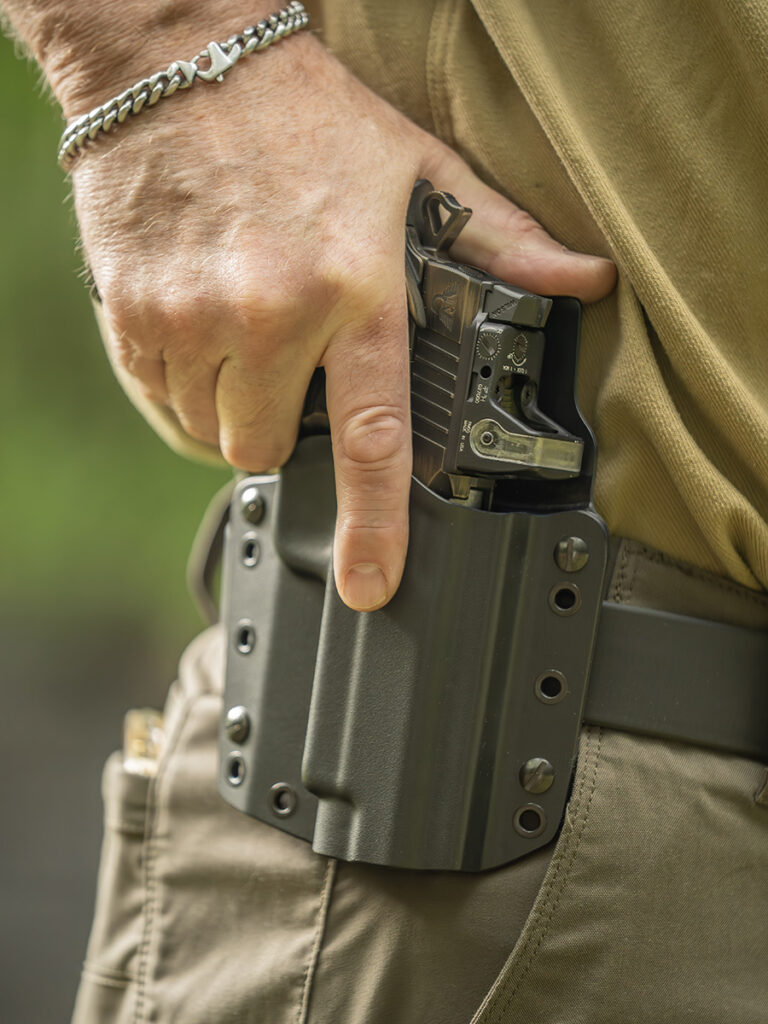

As you’re establishing your grip with your shooting hand, you should also be positioning your support hand so you can easily establish a two-hand grip without pointing your handgun at your support hand when you draw. You can do this by either placing your support hand at the center of your chest, or, if you just used your support hand to clear your cover garment, hold onto the garment and leave your hand in that location until it’s time to obtain a two-hand grip.
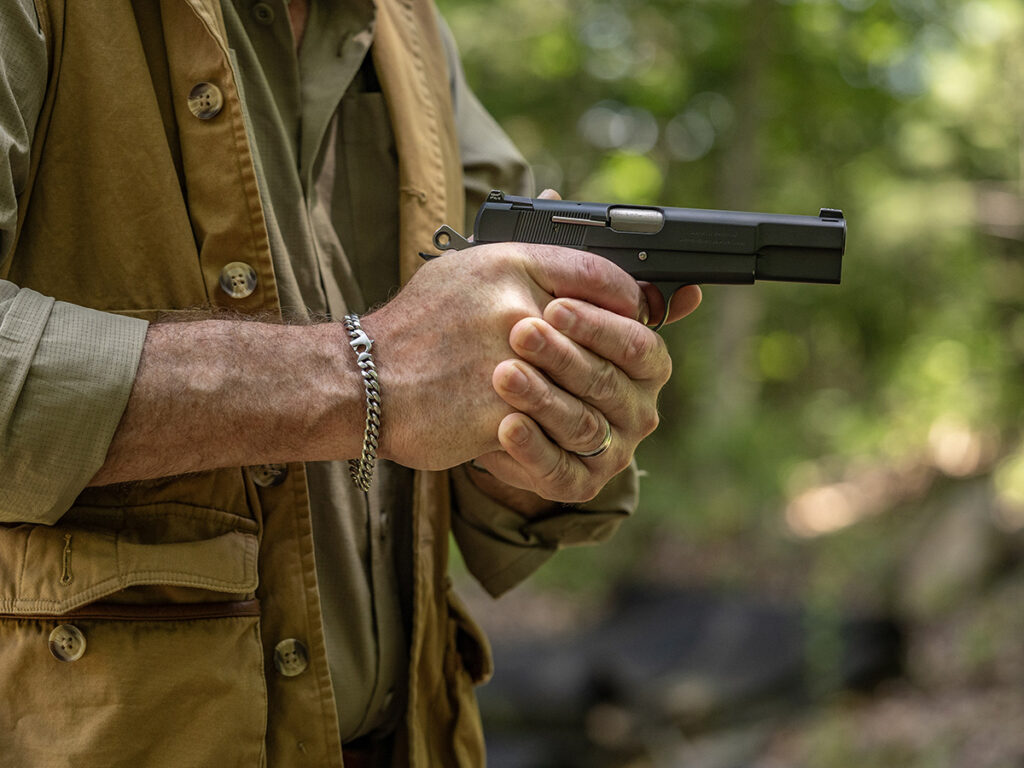

Another consideration is if you need to use your support hand to fend off an attacker who is very close as you’re attempting to draw. If this is the case, try to keep your support hand at least chest high so you don’t inadvertently shoot your support hand if you must fire from the retention position, but more on that shortly.
Step 3: Clearing the Holster
When you draw a handgun from the holster, you need to bring the handgun straight up—or straight out—of the holster. If the holster has no cant, the gun should come straight up. If the holster has some cant, pull the gun out at an angle equal to the holster’s cant. Regardless, the goal is to get the handgun far enough out of the holster so you can get the muzzle oriented toward the threat without holster interference.
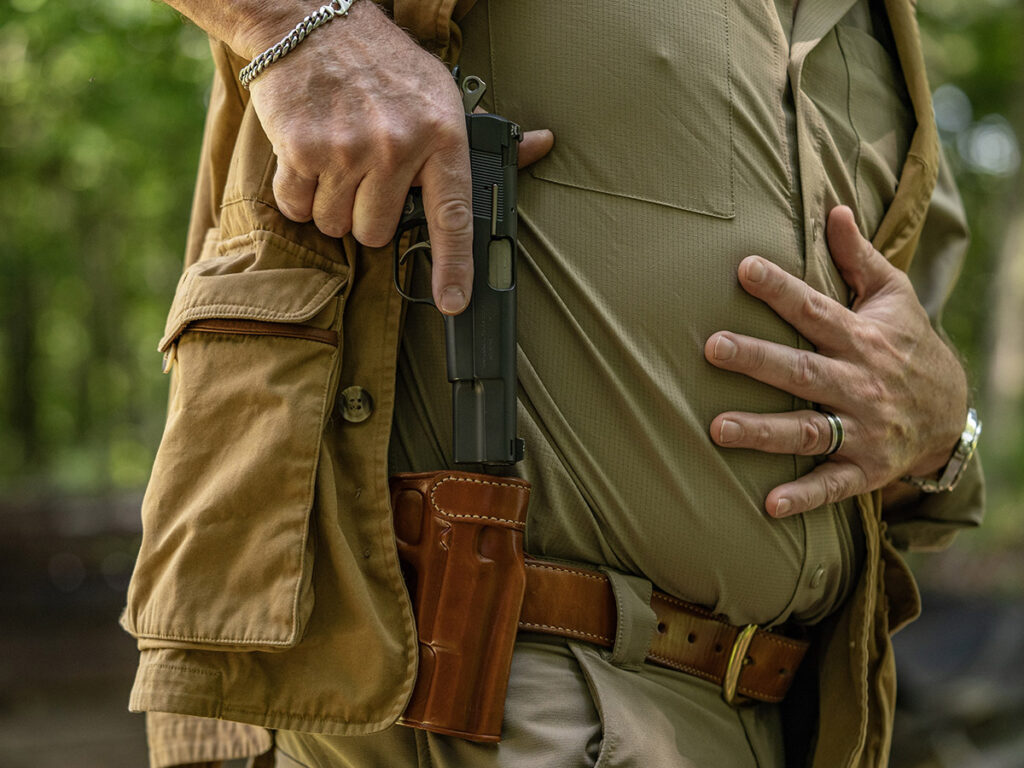

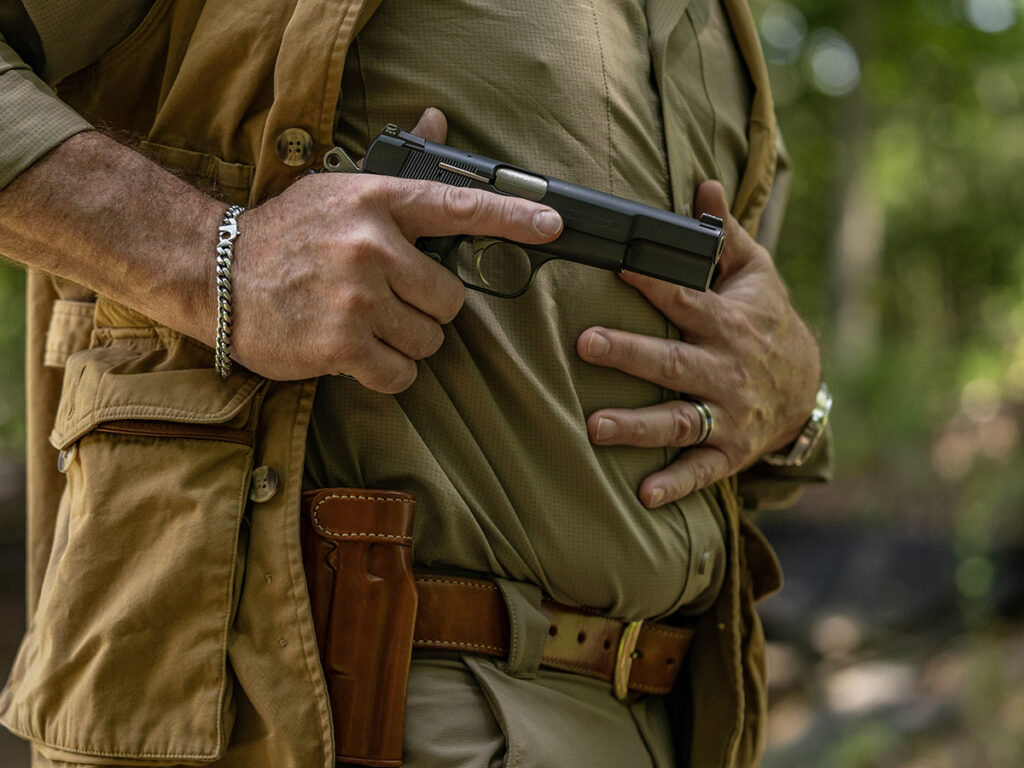
Sometimes it’s easier to learn to clear the holster in a two-step process. The first being to pull the handgun completely out of the holster and, the second step, to rotate the handgun toward the threat.

Step 4: Sight Acquisition
Now you’re ready to complete the final step of the draw stroke. Generally, this is the point where you press the handgun out toward the target, often adding your support hand to the grip and finally, establishing a sight picture. At least that’s the way most of us would prefer to complete a draw stroke.
Shooting with two hands is always more accurate than shooting with one hand, and shooting with a sight picture is always better than shooting without. The problem is, if the threat is extremely close—within reach—you might not want to extend your handgun toward them, and too, you might not have the time to do that, either.
At this point of the draw stroke, you must make some decisions. The first will be where you want to shoot from. If you have time and distance allows, you should move the handgun upward toward your line of sight, while at the same time adding your support hand to the grip. Once you have established a proper two-hand grip, press the handgun out toward the target while at the same time attempting to bring the handgun’s sights into your line of sight.
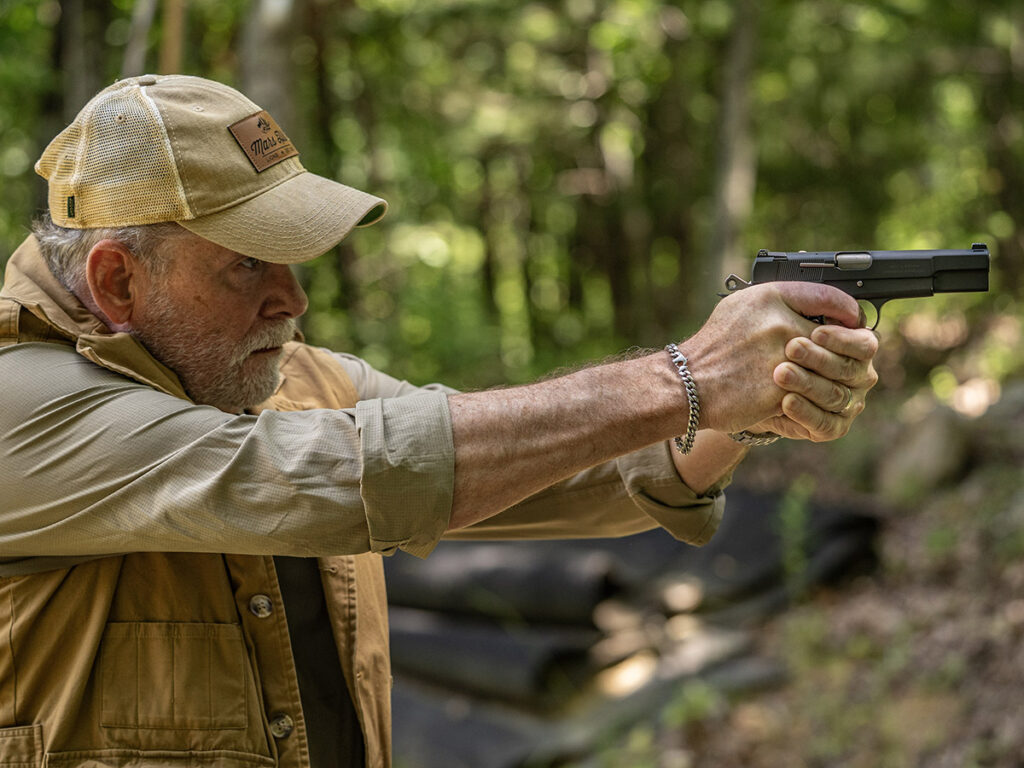

Don’t make the mistake of lowering your head to pick up the sights. Keep your head erect and move the handgun between your eyes and the target.
If, however, you feel pushing the handgun closer to the threat is not a good idea, you might want to shoot from a retention position. In the standard retention position, you will have a two-hand grip on the handgun, but you will hold it just below or near your chest/nipple on your strong hand side. It can be helpful to cant the pistol slightly away from your body so your body or clothing does not interfere with the cycling of the slide. You cannot acquire a sight picture in this position, but you can—with practice—point the handgun toward the target to make an accurate shot.
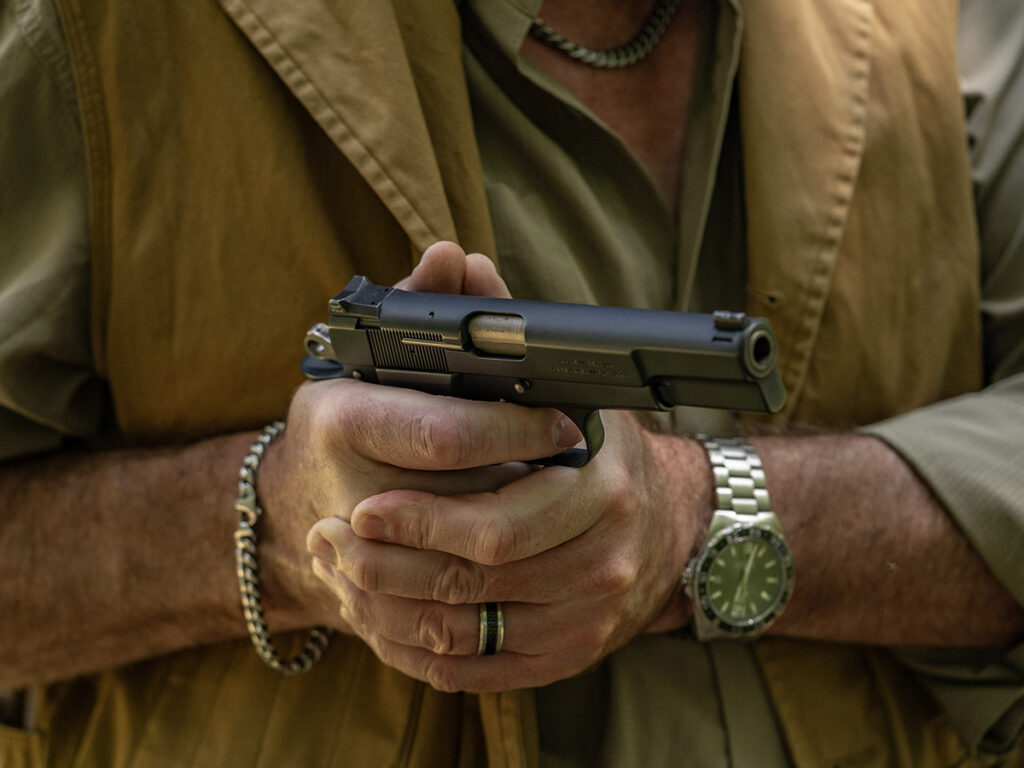

If the threat is right on top of you, you might want to use your support hand to fight off your attacker or to fend off blows to your head from your attacker as you draw. In this case, you will point your handgun toward the target from the one-hand retention position. This is the same position of the draw stroke where you orientated or rotated the handgun just above the holster.
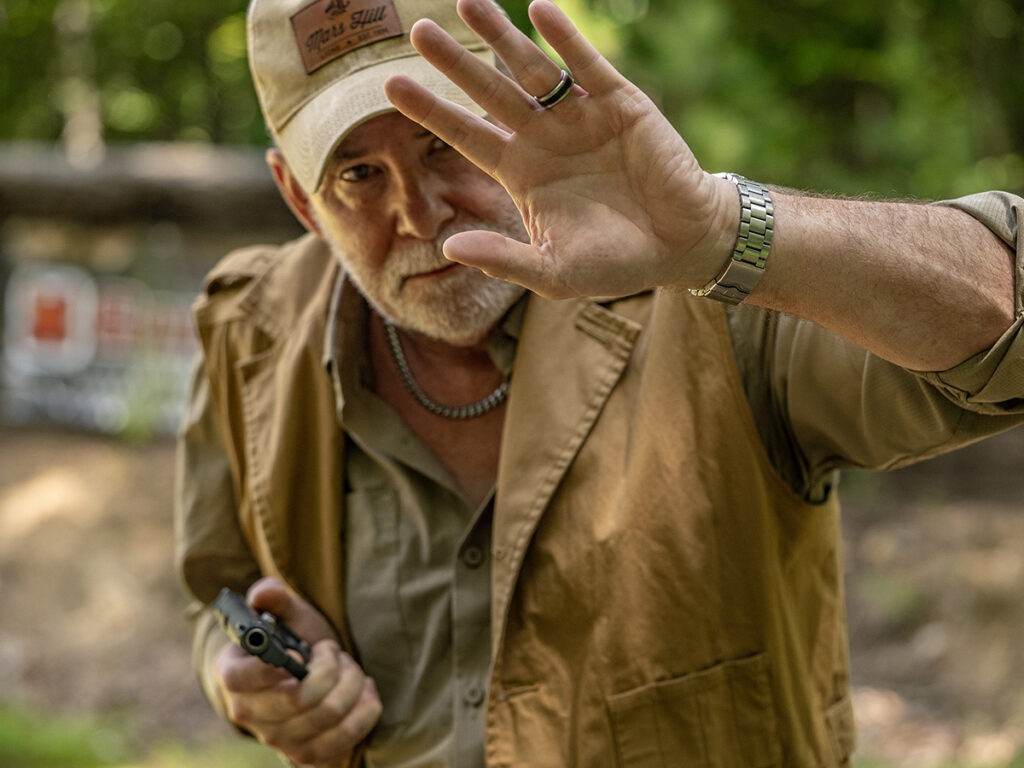

Regardless of the retention position you’re shooting from, sighted fire essentially becomes point shooting.
Decision Time
During each step of the draw stroke, you must be continually aware of the threat level you’re dealing with. In a life-and-death self-defense situation, the threat level can change at any moment. Between the time you decide to draw and when you obtain sight acquisition, your attacker might have disengaged or retreated. If that occurs, you will need to decide what to do next. The proper path forward might be to issue verbal warnings while holding your antagonist at gunpoint.
But there are other decisions you must make during the draw stroke, too. If your handgun has a manual safety, when should you disengage it, and at what point during the draw stroke do you place your finger on the trigger?
Regarding a manual safety, disengage it after your handgun has cleared the holster, while you’re rotating it toward the threat/target. As for placing your finger on the trigger, one of the four firearms safety rules is to keep your finger off the trigger until your sights are on the target. This is a sound rule you should always follow, but what some shooters do not understand is what exactly “sights are on the target” means.
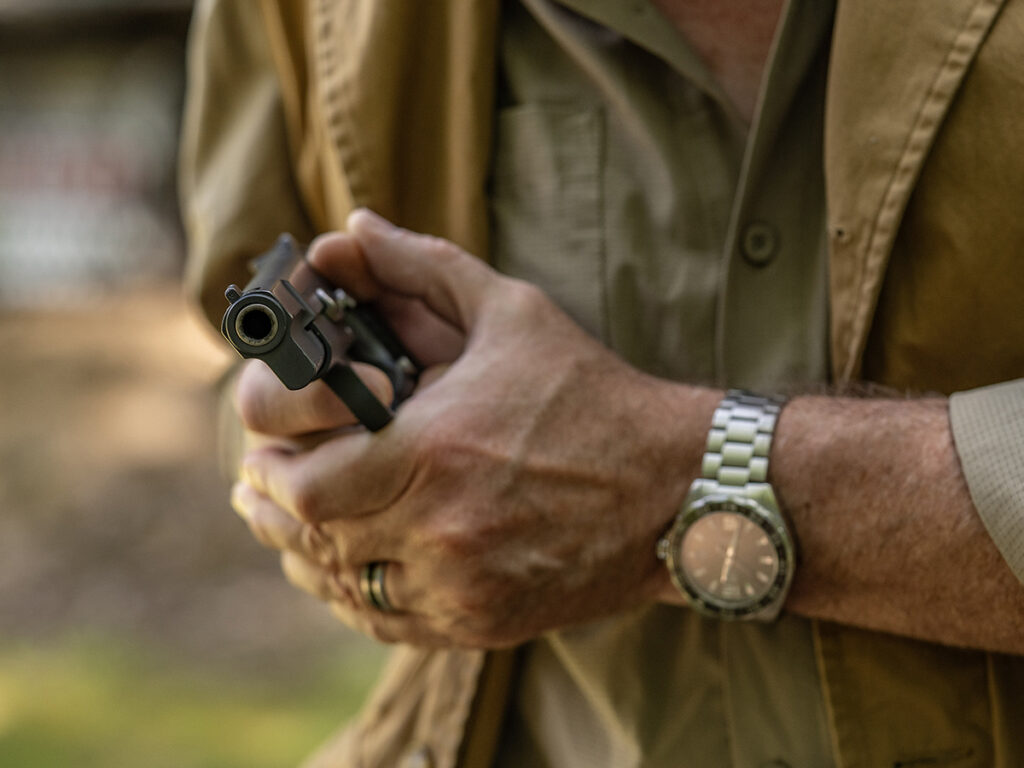

For example, if you’re shooting from the retention position, you cannot see your sights—you’re point shooting—and you cannot point shoot unless your finger is on the trigger. Similarly, in a self-defense situation, you might need to shoot before you get the handgun fully extended and between your eyes and the target/threat where you can see the sights. Place your finger on the trigger when you’re positive you’re pointing your handgun toward the target/threat.
Getting It Right
As important as handgun presentation can be in a self-defense situation, it’s something you should practice as often as possible. As stated, you can work to perfect your presentation with dry practice. By starting out slow and working to become progressively faster, just a few minutes of dry practice presentation each day can substantially improve your skill level.
Break the process down into the four steps, working on each individually until you can combine the process into a single fluid motion. By using the par time setting on a shot timer, it can help you evaluate your efficiency.
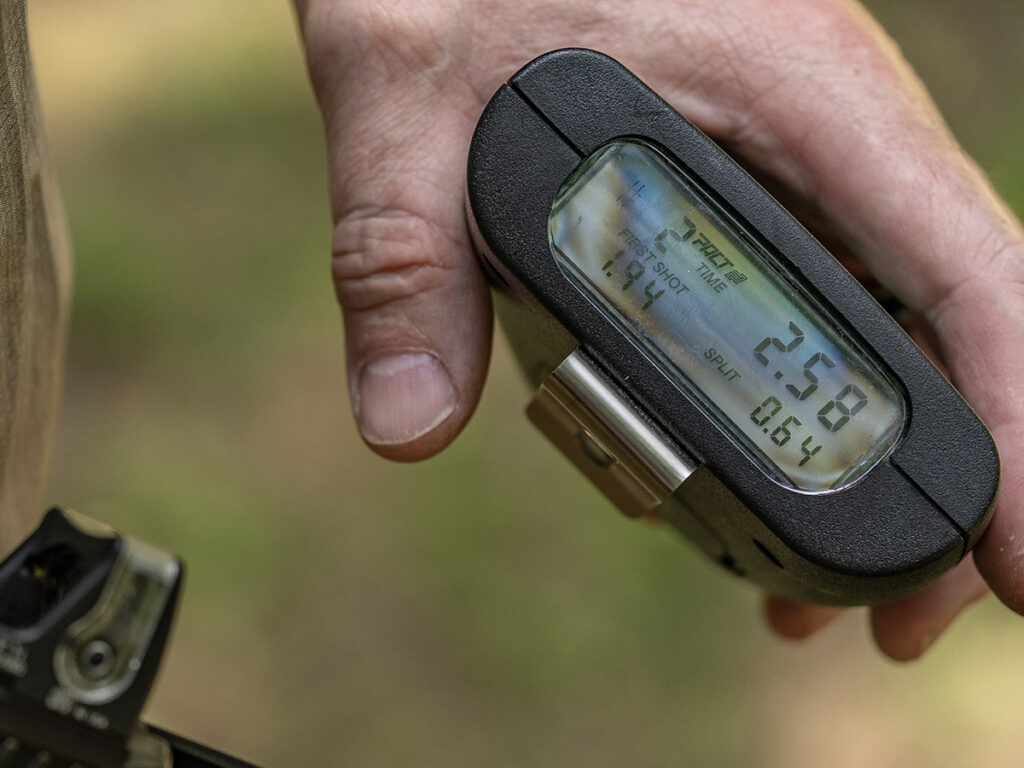

And do not forget to incorporate the retention positions. Some of the laser dry-fire training devices can be extremely helpful with presentation practice, and they can also make the training more enjoyable.
Editor’s Note: This article originally appeared in the October 2025 issue of Gun Digest the Magazine.
More On Firearm Skills:


Next Step: Get your FREE Printable Target Pack
Enhance your shooting precision with our 62 MOA Targets, perfect for rifles and handguns. Crafted in collaboration with Storm Tactical for accuracy and versatility.
Subscribe to the Gun Digest email newsletter and get your downloadable target pack sent straight to your inbox. Stay updated with the latest firearms info in the industry.
Read the full article here


Leave a Reply