

Images by the author
With factory ammo prices as they are, shooters are seeking ways to shoot more for less money. Consequently, reloading ammo for personal use is more popular today than ever before. I have been doing that for right at 50 years, and that includes casting most of the bullets I shoot. I reckon I’ve shot thousands of rounds over the years for not a whole lot of money, if you don’t count my time spent reloading (or as some call it, handloading).
I own three single-stage, one turret, and three progressive presses, and I use them. I am deeply involved in the reloading game and have learned a few things over the years. I’ll explain the differences between the press types below.
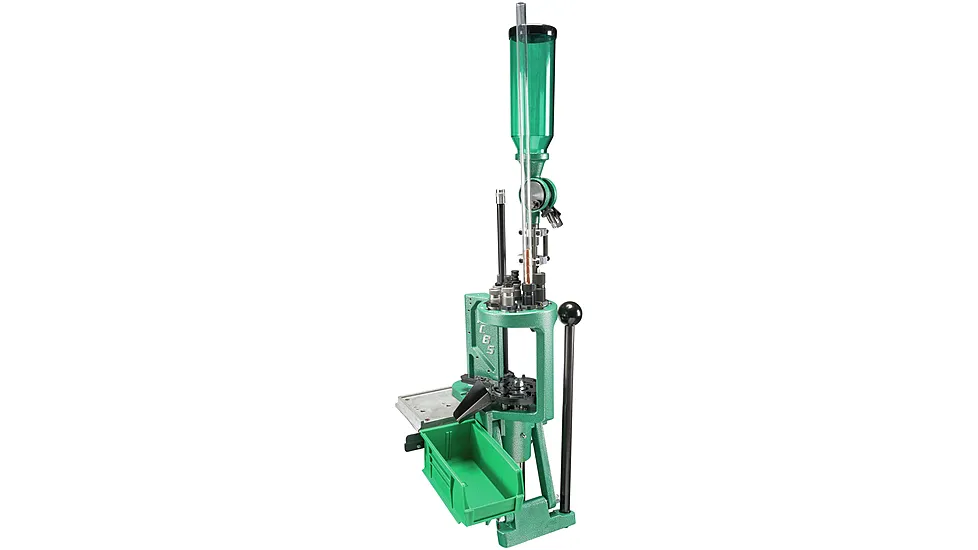
One thing I learned is that I can load a heck of a lot more ammo in a given time with a progressive press. We have such a tool in front of us here… the RCBS Pro Chucker 7 ($999 MSRP). This Big Green Machine features a seven-station shellholder, automated priming and powder dispensing, and ample room on top for seven dies. This is important, as we shall see later.
So, let’s examine the press in more detail. What exactly does a progressive press do? How is it different than the other types? We will delve into that, but I want to explain the reloading process first for those new to the hobby who may be considering it.
The Reloading Process
There are certain steps in the process. Here you go…
- Resize and decap (knock the spent primer out of) the case. Reprime the case.
- Ensure that the primer is seated properly – either flush with the case head or a few thousandths below. It should not protrude above the case head.
- Expand the case mouth, if it’s a straight-wall or pistol case. (Skip this step if it’s a bottleneck case.)
- Check to make sure the correct powder charge has dropped.*
- Seat the bullet.
- Crimp the bullet (either using the seating die or a separate crimp die). Inspect the loaded round.
* In terms of checking the powder level in each case, here is some information garnered from experience. You will need to verify that the correct amount of powder drops into each case. The following applies to progressive presses, as the powder level in cases on single-stage and turret presses can be easily verified by simply looking into the case. Progressive presses present difficulties where powder checking is concerned, as they tend to be more “busy”, with more things blocking your view. There are alternatives.
Some dies will check the powder level for you. Here’s a great place to start if you’re interested in getting a powder check die. I recommend it for all progressive presses. The Pro Chucker helps you out in this area by having seven die stations, which is more than enough to include a powder checker die.
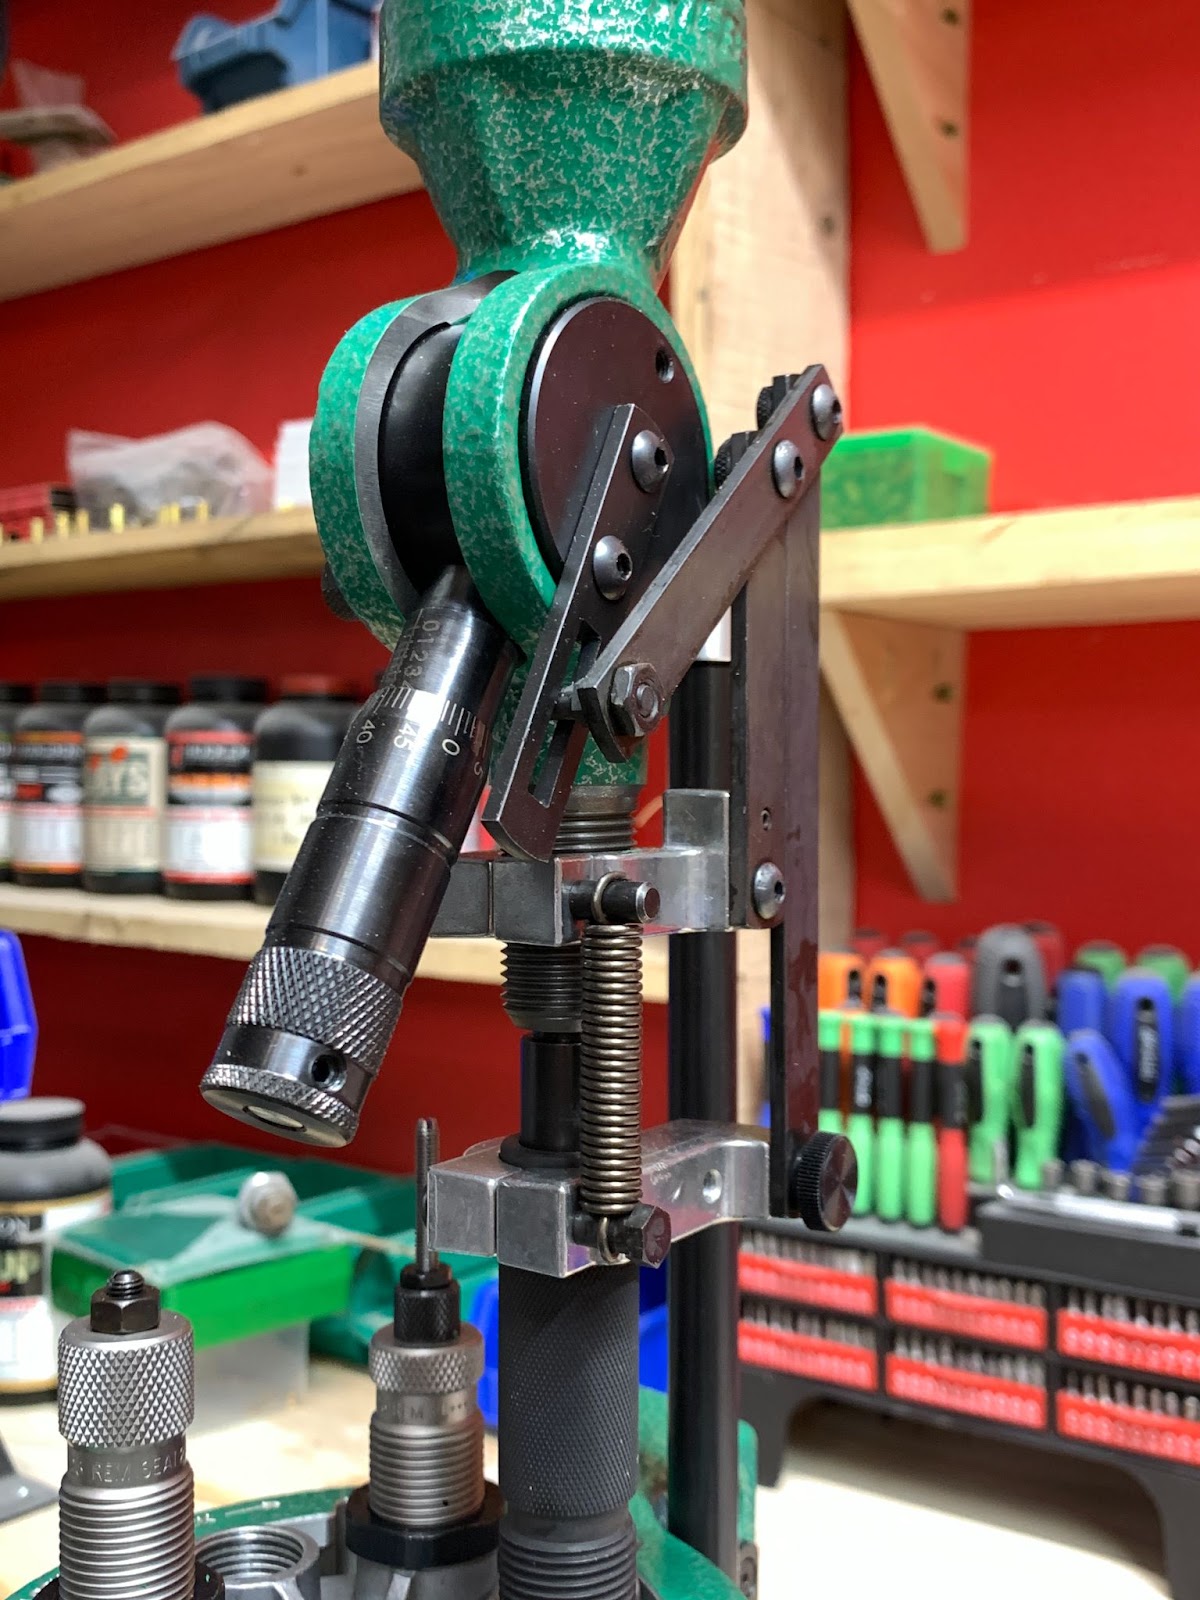
The RCBS Powder Checker is one such die. I prefer it over competing dies because it provides not only a floating rod that indicates the amount of powder in a case, but also a fixed rod that serves as a reference, allowing you to compare the floating rod with it — a baseline. It’s a good design for an inexpensive die.
Press Types
There are three basic types of reloading presses, which I mentioned above. Here they are in more detail.
Single-Stage Press.
The single-stage press features a single die station and a single shell holder. You screw in the die you need for that operation and insert a case into the shell holder. You then perform that die’s function on all of your cases – the same operation on all of them. Only then will you change dies to perform the next operation. You will repeat this process for all reloading steps, for as many cases as you have. You will need to physically remove the case for charging with powder.
Most reloaders, when ready to charge the cases with powder, will place all the cases upright in a case block and charge them until all have received powder. Then bullets are placed in the case mouths and the cases are run up into the bullet-seater die and crimped, or crimping is performed separately. That’s the drill.
Turret Press.
The turret press is similar to a single-station press that has been equipped with additional die stations. You will have a tool holder for anywhere from three to seven or so dies. You screw all your dies in at once, and then they rotate over the single case below. All the functions are performed on each case but you don’t waste time screwing and unscrewing dies. The turret revolves, and with as many handle cycles as there are die stations, a loaded round is produced. So, if you have a five-station tool head, it will take five handle cycles to produce a loaded round. This is faster than a single-stage press in some ways, but the process is the same… you are just spared screwing and unscrewing dies. Even with bushings in place, changing dies is still a time-consuming process.
Progressive Press.
The progressive press truly speeds up the reloading process. Here’s how.
Instead of having the turret press’s tool head with multiple die stations over one shell holder, the progressive press has multiple die stations, and a shell holder plate with as many shell holders built in as there are die stations above.
Once the shell holder plate is full, each reloading operation happens on a different case with each handle cycle. You put a case in station one, resizing and decapping. Cycle the handle, and it will then perform those functions and then re-prime that case.
Cycle the handle again and put a new case in station 1, and the first case advances to the second die station. This is where case mouth expansion (if it’s a straight-wall case) and powder dispensing happen. The next die station might be a powder check die to ensure that the right charge got dropped (highly recommended, see above). After that, we have bullet seating and crimping, just like above. Keep inserting cases until the shell plate is full.
After the shell plate is full, every time you cycle the handle, a loaded round is produced. There are bullet and case feeders that do away with the need to place each bullet and case in the press with your fingers. These will increase your output dramatically.
The reloading steps don’t change between the press types… It’s just that the progressive does all of them with each handle cycle, once the shell plate is full.
Progressive Press “Do-s”
There are a couple of things to remember when using a progressive press, things you must do.
- Cycle the handle fully. Move it down and then up until it stops, repeating this process each time. Do not short-stroke it. You are seating primers and bullets, and operating the powder measure with every pull or push of the handle. Make sure you move it all the way down and up, against its stops.
- Check your powder levels and ensure the primer seating is correct. I’ve had wrong powder charges fall, and primers not seat properly. Pay attention! A powder check die will be your best friend in this situation.
Pro Chucker 7 Features
The Pro Chucker 7 press appears to be a well-made piece of machinery. Here are some observations…
- Overall size. The press itself doesn’t take up too much room on the bench. This is subjective, of course, but I have others that spread out more.
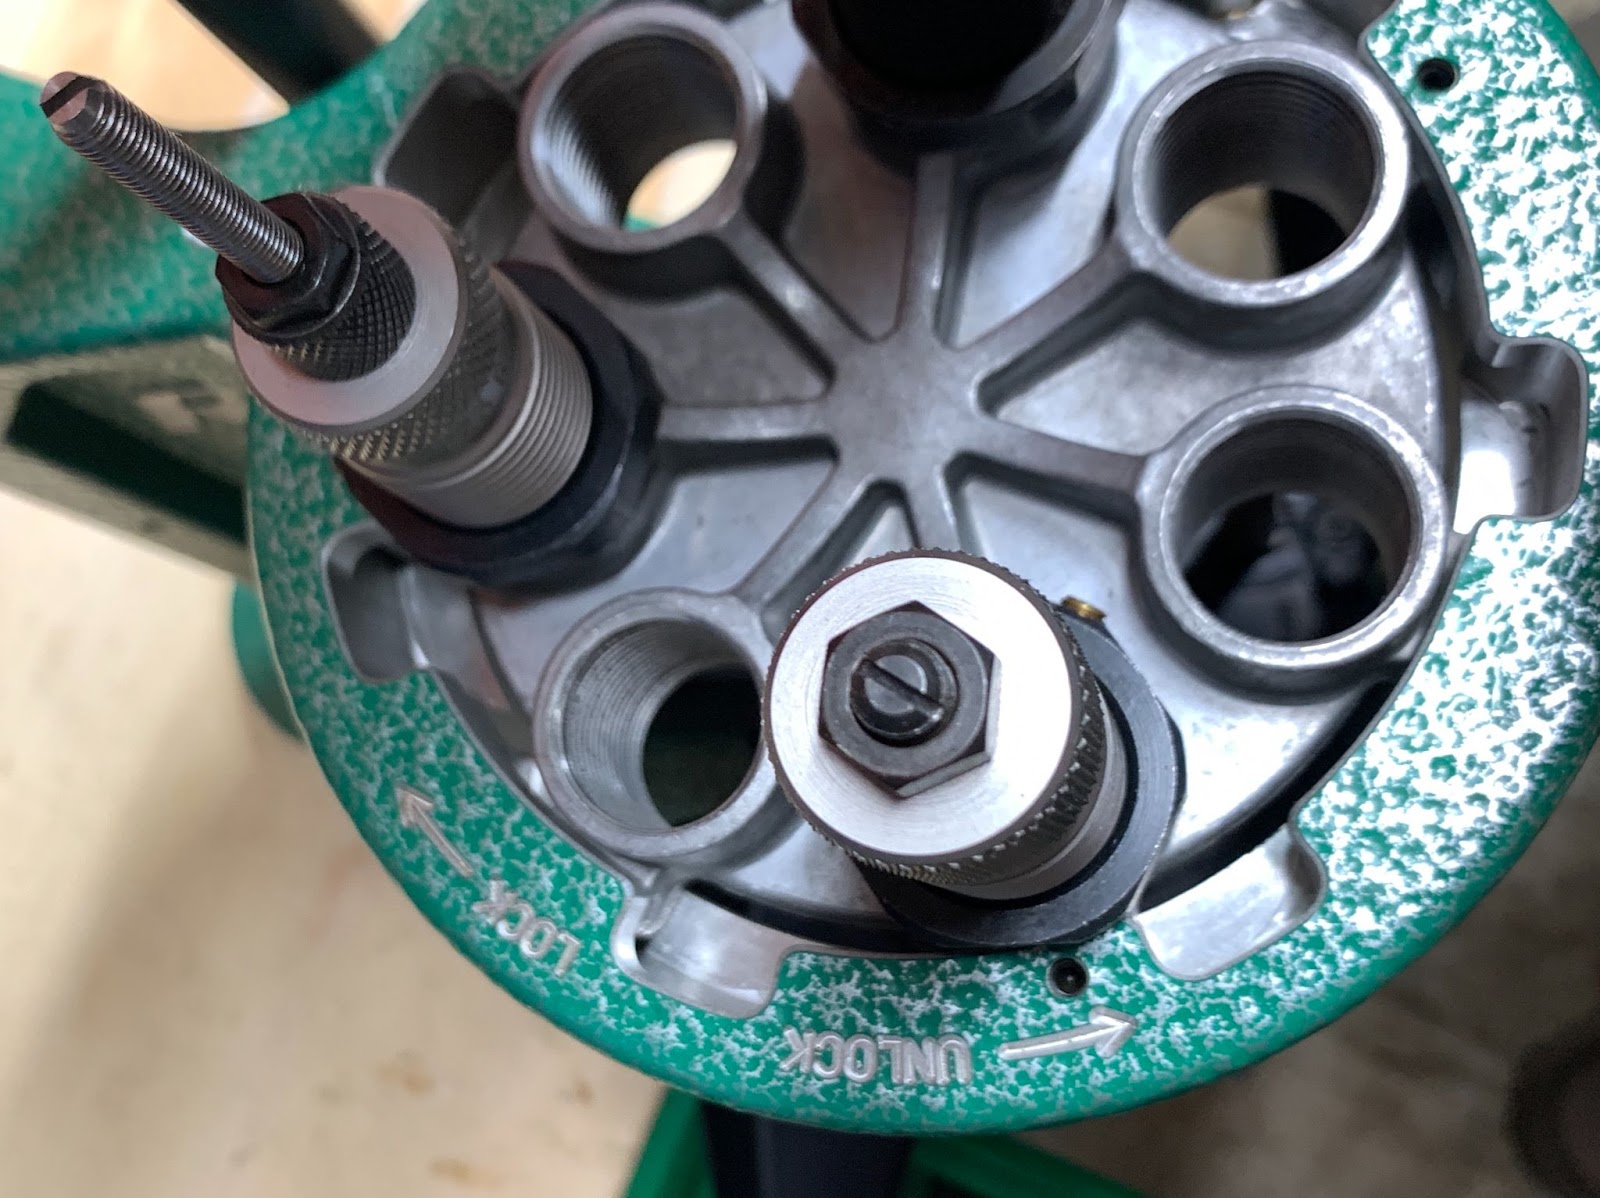
- Set screws in the tool head. There are three below-flush, hex key set screws that hold the head in. place. This is a nice touch that prevents the head from flexing.
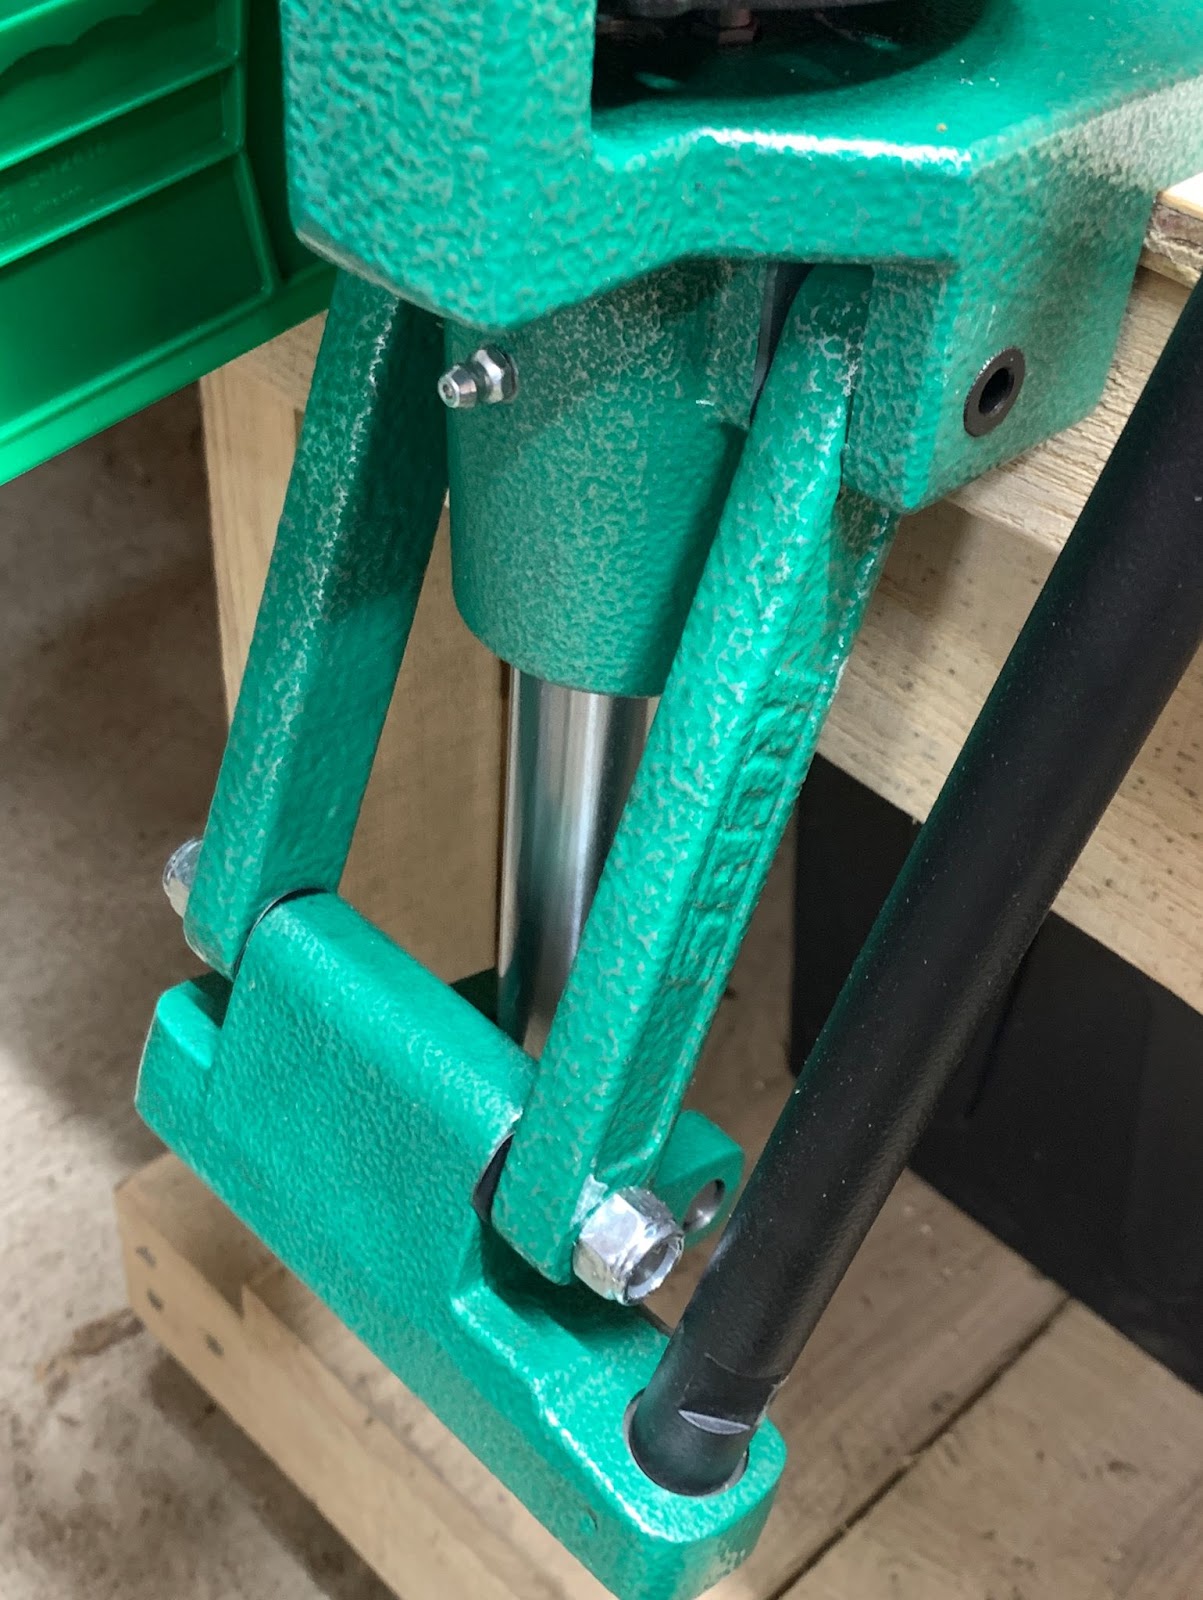
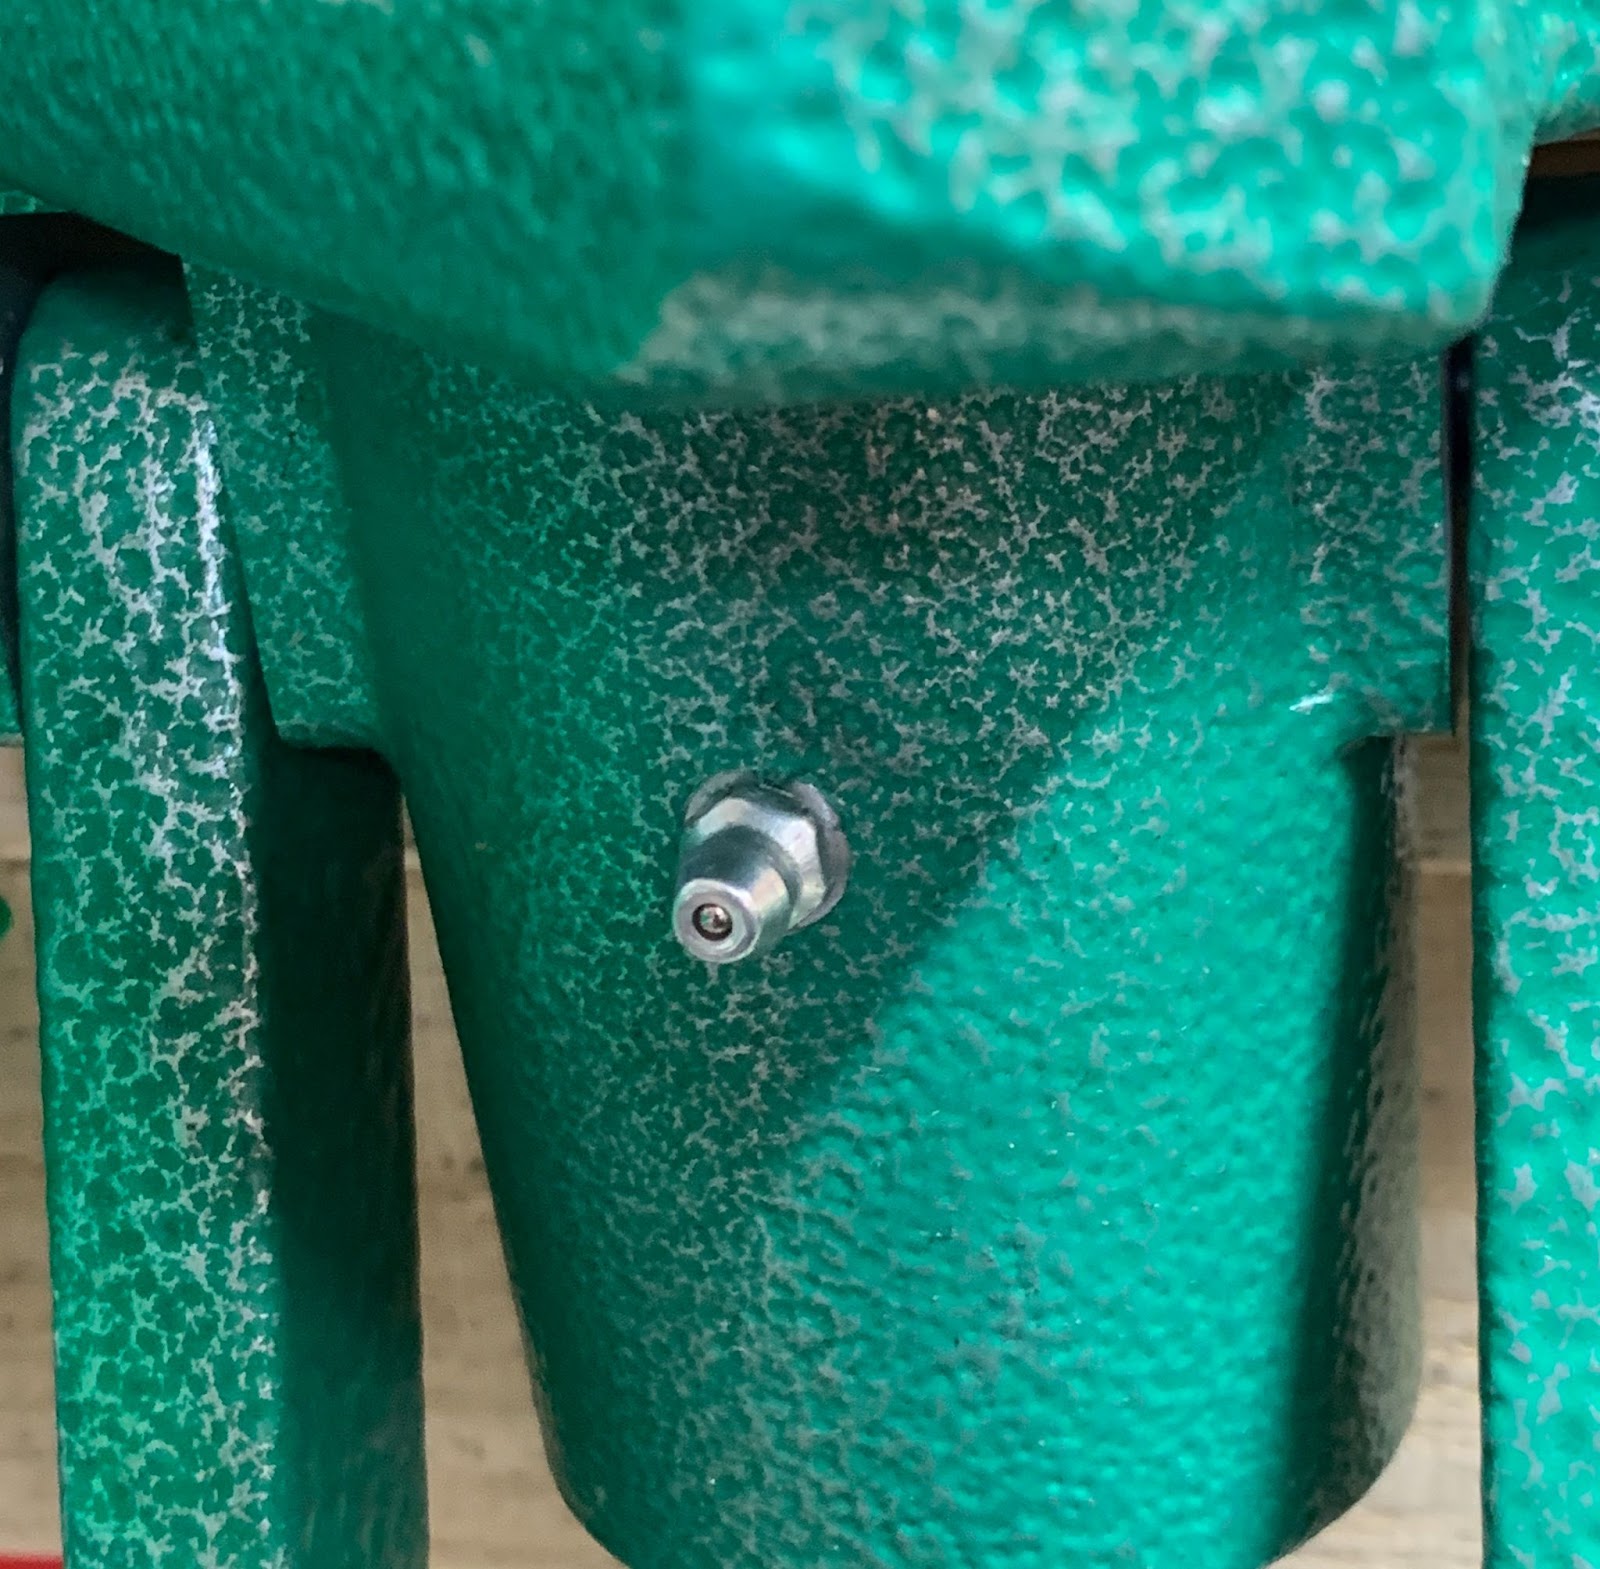
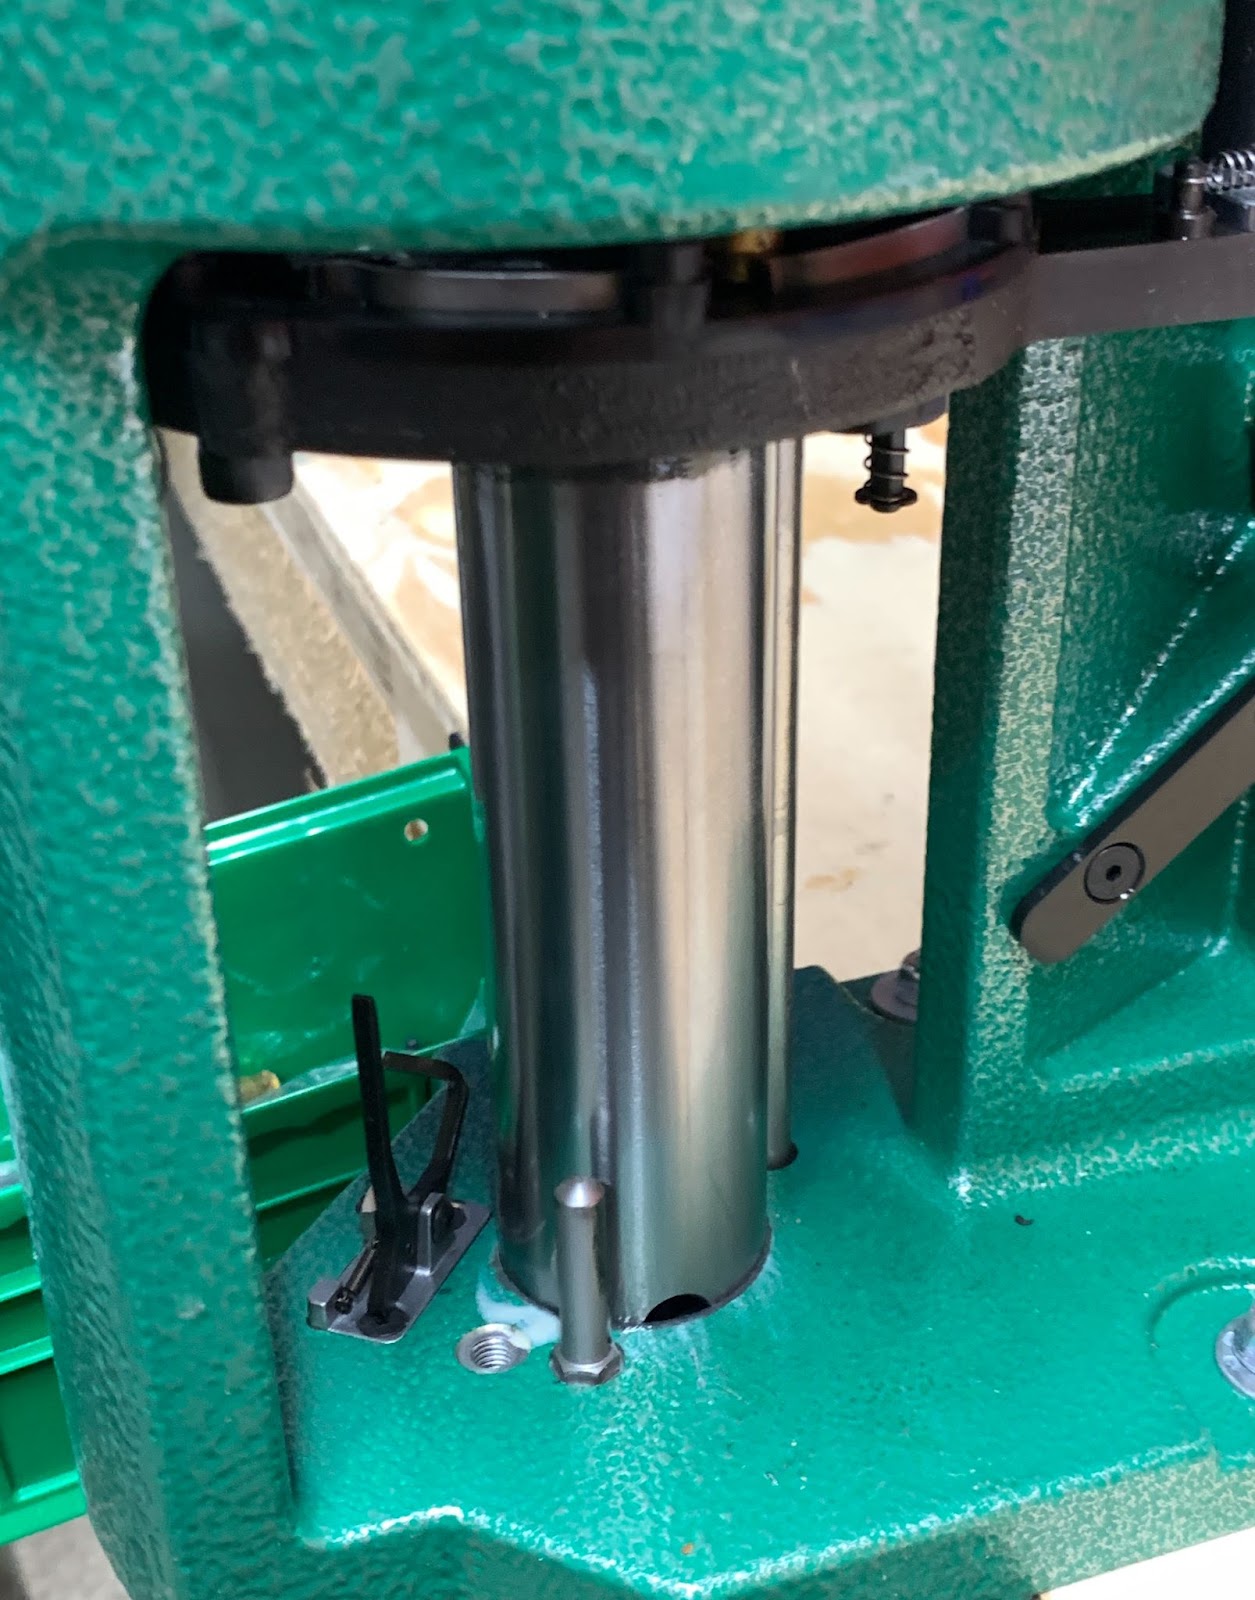
- Zerk fitting. There’s an old-school zerk grease fitting on the front of the press so you can lube the ram.
- Ram. Speaking of the ram, it won’t flex. It is one inch in diameter, the same as the ram on the Rock Chucker Supreme press. It is polished bright to “slick it up”.
- Window. The press has a 4.6-inch window, which allows reloading long cartridges.
- Seven stations. The Pro Chucker was the first 7-station progressive press. This allows a powder check die, bullet feeder, and case feeder to be added, even if you are using a four-die pistol set.
- Price. You can buy the press for a little over $800, which is a decent price for an ammo factory. MSRP is $999.
I had read some older reviews from 8-10 years ago that discussed some areas that needed improvement on the press, but it seems that RCBS has addressed them. We had no issues loading on the Pro Chucker 7.
Who Needs This Press?
Over the years, I’ve been asked about reloading in general and presses specifically by shooters considering getting into reloading. I am usually asked for my opinion on what the best press and set-up would be for their situation. They typically have heard about how many rounds a progressive press can load in an hour. We talk about what they want out of a reloading hobby, and usually it’s “piles of ammo” or words to that effect. When they mention progressive presses, I usually discourage folks who have never reloaded before from buying one.
Why?
They can get themselves into trouble quickly if they make a mistake. Messing up is easier to do with a progressive press than with a single-stage or turret press. You must pay close attention to the process. Remember, with a single-stage or turret, the press is doing one thing at a time. A progressive press can perform all the reloading processes simultaneously, as we have seen.
I usually compare progressive press reloading to those fellows on the ancient Ed Sullivan show who spun plates. Huh? Here’s a quick video about this topic. The guy has to keep all the plates in the air, without letting any fall. Older reloaders will have a grip on what I’m talking about.
Progressive presses make you have all your reloading “plates” in the air at once when the shell holder plate is full. When that happens, you will simultaneously resize, decap, recap, expand, drop powder, and seat/crimp bullets with each complete handle cycle. That’s a lot to watch over. A newbie reloader should not be asked to do this. They need to learn the process first, and that is best accomplished by using a single-stage press.
I’ve helped a few folks over the years get into reloading that way, and they respected the process. Once they’d had enough rounds under their belt, they might “graduate” to a turret or a progressive. You can still load a ton of ammo on a non-progressive press… that’s how I did it for years. It just takes longer. Always keep safety at the forefront. I’ve blown up my share of pistols (one is enough) to understand the basics of reloading safety.
Photos
I chose to shoot the press as it came from the box, with the addition of a shell holder and dies (.223 in this instance). The optional case feeder is not attached. There is also an optional bullet feeder for pistol bullets.


Summing Up
Progressive reloading is an excellent way to produce a large quantity of ammunition quickly, and the Pro Chucker 7 is a great entry point into this process. For a relatively low price, you get a well-built, sturdy press designed for years of service. With typical RCBS engineering, this press is designed to crank out hundreds of rounds per hour while maintaining an ergonomically pleasing design.
Whether you are loading 9mm practice loads or .308 for competition, the Pro Chucker 7 will work for you. My engineer/reloader son has this and another, more-expensive brand of progressive press bolted to his bench. After casting his discriminating, “engineer eye” over both of them, he said that the RCBS has features that the other one doesn’t have. He likes the way it’s put together and the way it operates. He loads .223 with it.
If you are ready to move up in the reloading game from a single-stage or turret press, you might want to give the Pro Chucker 7 a look. Its seven-station tool head allows you to add accessory dies that help with your ammo production and can also help keep you safe. The price is definitely in the proper ballpark. Maybe it’s time you knocked one over the fence – give the Pro Chucker 7 a try!
Where To Buy
Read the full article here